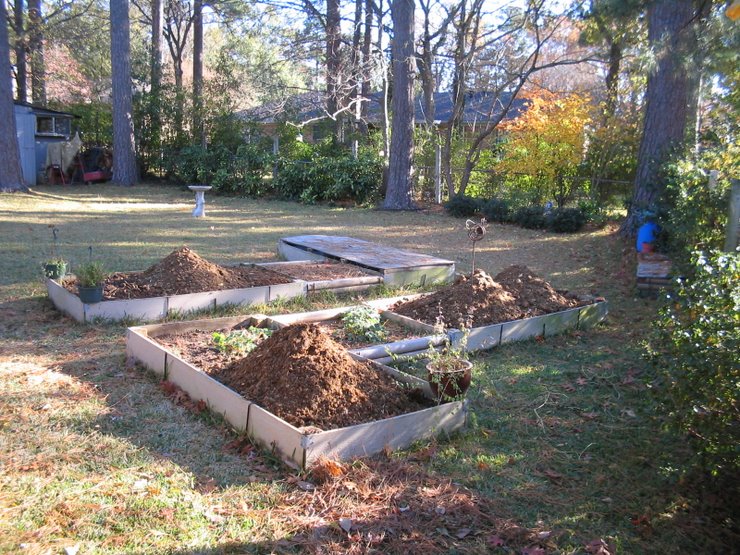
As you can see, I've started adding some pics to this, and all posts, as soon as I can get them in some orderly fashion. Keep coming back because they're damned good stuff.
Next......, we'll talk about what the hell you're gonna do when that box of worms comes knocking on your door. Coming Soon!
Friday, February 16, 2007


Thursday, February 15, 2007
Future further review....Lesson 1 redux.
Be advised, should I decide/find it necessary to change anything in Lesson 1, I'll do it here....if it's OK with ya'll.
Coincidentally, I just thought of one thing: You'll read about drilling lots of air holes into your plastic bin. Don't do it yet. I'll tell you what I think about all them holes in lesson two.
I'll be the sixth or seventh to admit I'm doling this out in small, easy to digest doses. If you're really into it, Google composting worms for the bland, boring, uninteresting facts of the matter.
What I think about them air holes is that you don't need em. They're OK, and if you want some, drill them...in the bottom, and the top, and all around the sides. When...not if....you get excess moisture in the bin(s), it'll have a chance to escape your worms.
OK, after reading what I just wrote, I now realize you probably are gonna need some holes in the FIRST bin because you'll overly mother those babies damn near to death and drownation.
Put some water escape route holes in the bottom of your FIRST bin about <.....................this........................> far apart and about this.......O....... big.
I couldn't find any pics of just the bottom of a bin, so this one with the old, outdated holes everywhere bin will have to do. But remember, you ain't gonna need all them holes.
Coincidentally, I just thought of one thing: You'll read about drilling lots of air holes into your plastic bin. Don't do it yet. I'll tell you what I think about all them holes in lesson two.
I'll be the sixth or seventh to admit I'm doling this out in small, easy to digest doses. If you're really into it, Google composting worms for the bland, boring, uninteresting facts of the matter.
What I think about them air holes is that you don't need em. They're OK, and if you want some, drill them...in the bottom, and the top, and all around the sides. When...not if....you get excess moisture in the bin(s), it'll have a chance to escape your worms.
OK, after reading what I just wrote, I now realize you probably are gonna need some holes in the FIRST bin because you'll overly mother those babies damn near to death and drownation.
Put some water escape route holes in the bottom of your FIRST bin about <.....................this........................> far apart and about this.......O....... big.

I couldn't find any pics of just the bottom of a bin, so this one with the old, outdated holes everywhere bin will have to do. But remember, you ain't gonna need all them holes.
Wanna be a Wormer? Lesson 1

I've been raising worms, composting worms mainly, since well back into the 20th century, and I want to pass on all the good stuff I've learned as well as all the things I learned aren't so good.
I just divorced myself from a relationship with a vermiforum I was involved in since its inception and will miss almost all the people I grew up with...worm wise...there.
So, lets build a worm bin!
I am gonna tell you how I like to do it. You can raise worms in plastic bins, dresser drawers, buckets, holes in the ground, old shop vac's....just about anything. But because of moisture retention, I'll talk about building a plastic tote worm bin.
Day 1:
Buy a 10 gallon Sterilite or Rubbermaid plastic tote...or two. They should be opaque because worms love being in the dark. Tear newspaper into narrow strips for bedding.
I just divorced myself from a relationship with a vermiforum I was involved in since its inception and will miss almost all the people I grew up with...worm wise...there.
So, lets build a worm bin!
I am gonna tell you how I like to do it. You can raise worms in plastic bins, dresser drawers, buckets, holes in the ground, old shop vac's....just about anything. But because of moisture retention, I'll talk about building a plastic tote worm bin.
Day 1:
Buy a 10 gallon Sterilite or Rubbermaid plastic tote...or two. They should be opaque because worms love being in the dark. Tear newspaper into narrow strips for bedding.
Go online for a worm farmer/seller/raiser of your choice and order a pound, or two, of red wigglers (look up the Latin, official name for red wigglers)
Begin denying your garbage disposal of veggie scraps, and apple cores, and other non-meat and fat products, and salty stuff, and coffee grounds and tea bags, and....other stuff by putting them in a safe place, like a freezer, or a nice decanter-type slop jar for when the worm's arrive pretty damned pissed about being in a USPS shipping box for two or three days.
In those few days, depending on the postal service, and weather (don't buy worms from a place where they'll be shipped through freezing weather), the worms will be very anxious about their new surroundings so get that bin welcome prepared.
Day 2-arrival:
Prepare the bin with a little bedding. Composting horse manure is good, and my favorite, but you can use leaves and yard waste, with the newspaper stripping, of course
Wait for the worms to arrive.
Come back tomorrow for the next installment.
Relax. It ain't rocket science...but if you have questions, ask me @here.
Begin denying your garbage disposal of veggie scraps, and apple cores, and other non-meat and fat products, and salty stuff, and coffee grounds and tea bags, and....other stuff by putting them in a safe place, like a freezer, or a nice decanter-type slop jar for when the worm's arrive pretty damned pissed about being in a USPS shipping box for two or three days.
In those few days, depending on the postal service, and weather (don't buy worms from a place where they'll be shipped through freezing weather), the worms will be very anxious about their new surroundings so get that bin welcome prepared.
Day 2-arrival:
Prepare the bin with a little bedding. Composting horse manure is good, and my favorite, but you can use leaves and yard waste, with the newspaper stripping, of course
Wait for the worms to arrive.
Come back tomorrow for the next installment.
Relax. It ain't rocket science...but if you have questions, ask me @here.
Subscribe to:
Posts (Atom)